

Zxing库的使用⭐️实现给自己的博客主页生成一张二维码链接,有源码可以直接复制到本地执行
前言小伙伴们大家好,自从地铁上刷到Zxing库的使用后,一直想本地部署玩一玩一、简介ZXing(全称为 Zebra Crossing)是一个开源的条码/二维码处理库,提供了识别、生成和解码条码/二维码的功能。它由 Google 开发并维护,采用 Java 语言编写,并支持多种编程语言的接口。(看到底层使用java编写的,突然很亲切有莫有)二、本地实现。
·

目录
前言
小伙伴们大家好,自从地铁上刷到Zxing库的使用后,一直想本地部署玩一玩
一、简介
ZXing(全称为 Zebra Crossing)是一个开源的条码/二维码处理库,提供了识别、生成和解码条码/二维码的功能。它由 Google 开发并维护,采用 Java 语言编写,并支持多种编程语言的接口。(看到底层使用java编写的,突然很亲切有莫有)
二、本地实现
2.1 引入依赖(根据自己springboot项目来)
        <dependency>
            <groupId>com.google.zxing</groupId>
            <artifactId>core</artifactId>
            <version>3.4.1</version>
        </dependency>
2.2 实现类
import com.google.zxing.BarcodeFormat;
import com.google.zxing.EncodeHintType;
import com.google.zxing.MultiFormatWriter;
import com.google.zxing.common.BitMatrix;
import javax.imageio.ImageIO;
import java.awt.*;
import java.awt.image.BufferedImage;
import java.io.File;
import java.util.HashMap;
import java.util.Map;
public class ZxingTest {
// 生成QR码的方法
public void generateQRCode(String data, int width, int height, String filePath) {
try {
Map<EncodeHintType, Object> hints = new HashMap<>();
hints.put(EncodeHintType.CHARACTER_SET, "UTF-8"); // 设置字符编码
hints.put(EncodeHintType.ERROR_CORRECTION, com.google.zxing.qrcode.decoder.ErrorCorrectionLevel.H); // 错误纠正级别
hints.put(EncodeHintType.MARGIN, 1); // 二维码边距
MultiFormatWriter writer = new MultiFormatWriter();
BitMatrix bitMatrix = writer.encode(data, BarcodeFormat.QR_CODE, width, height, hints);
// 创建BufferedImage对象来表示QR码
BufferedImage image = new BufferedImage(width, height, BufferedImage.TYPE_INT_RGB);
for (int x = 0; x < width; x++) {
for (int y = 0; y < height; y++) {
image.setRGB(x, y, bitMatrix.get(x, y) ? Color.BLACK.getRGB() : Color.WHITE.getRGB());
}
}
// 将QR码保存到文件
File qrCodeFile = new File(filePath);
ImageIO.write(image, "png", qrCodeFile);
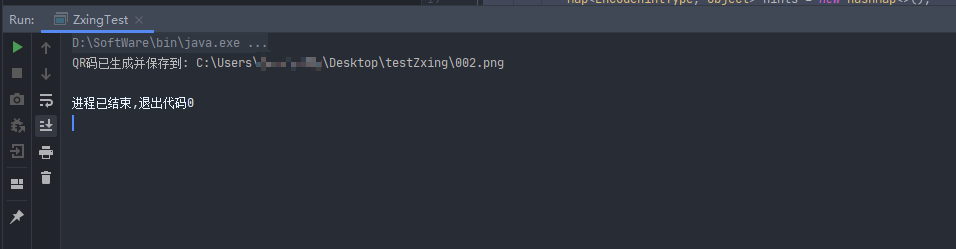
System.out.println("QR码已生成并保存到: " + filePath);
} catch (Exception e) {
e.printStackTrace();
}
}
public static void main(String[] args) {
ZxingTest qrCodeGenerator = new ZxingTest();
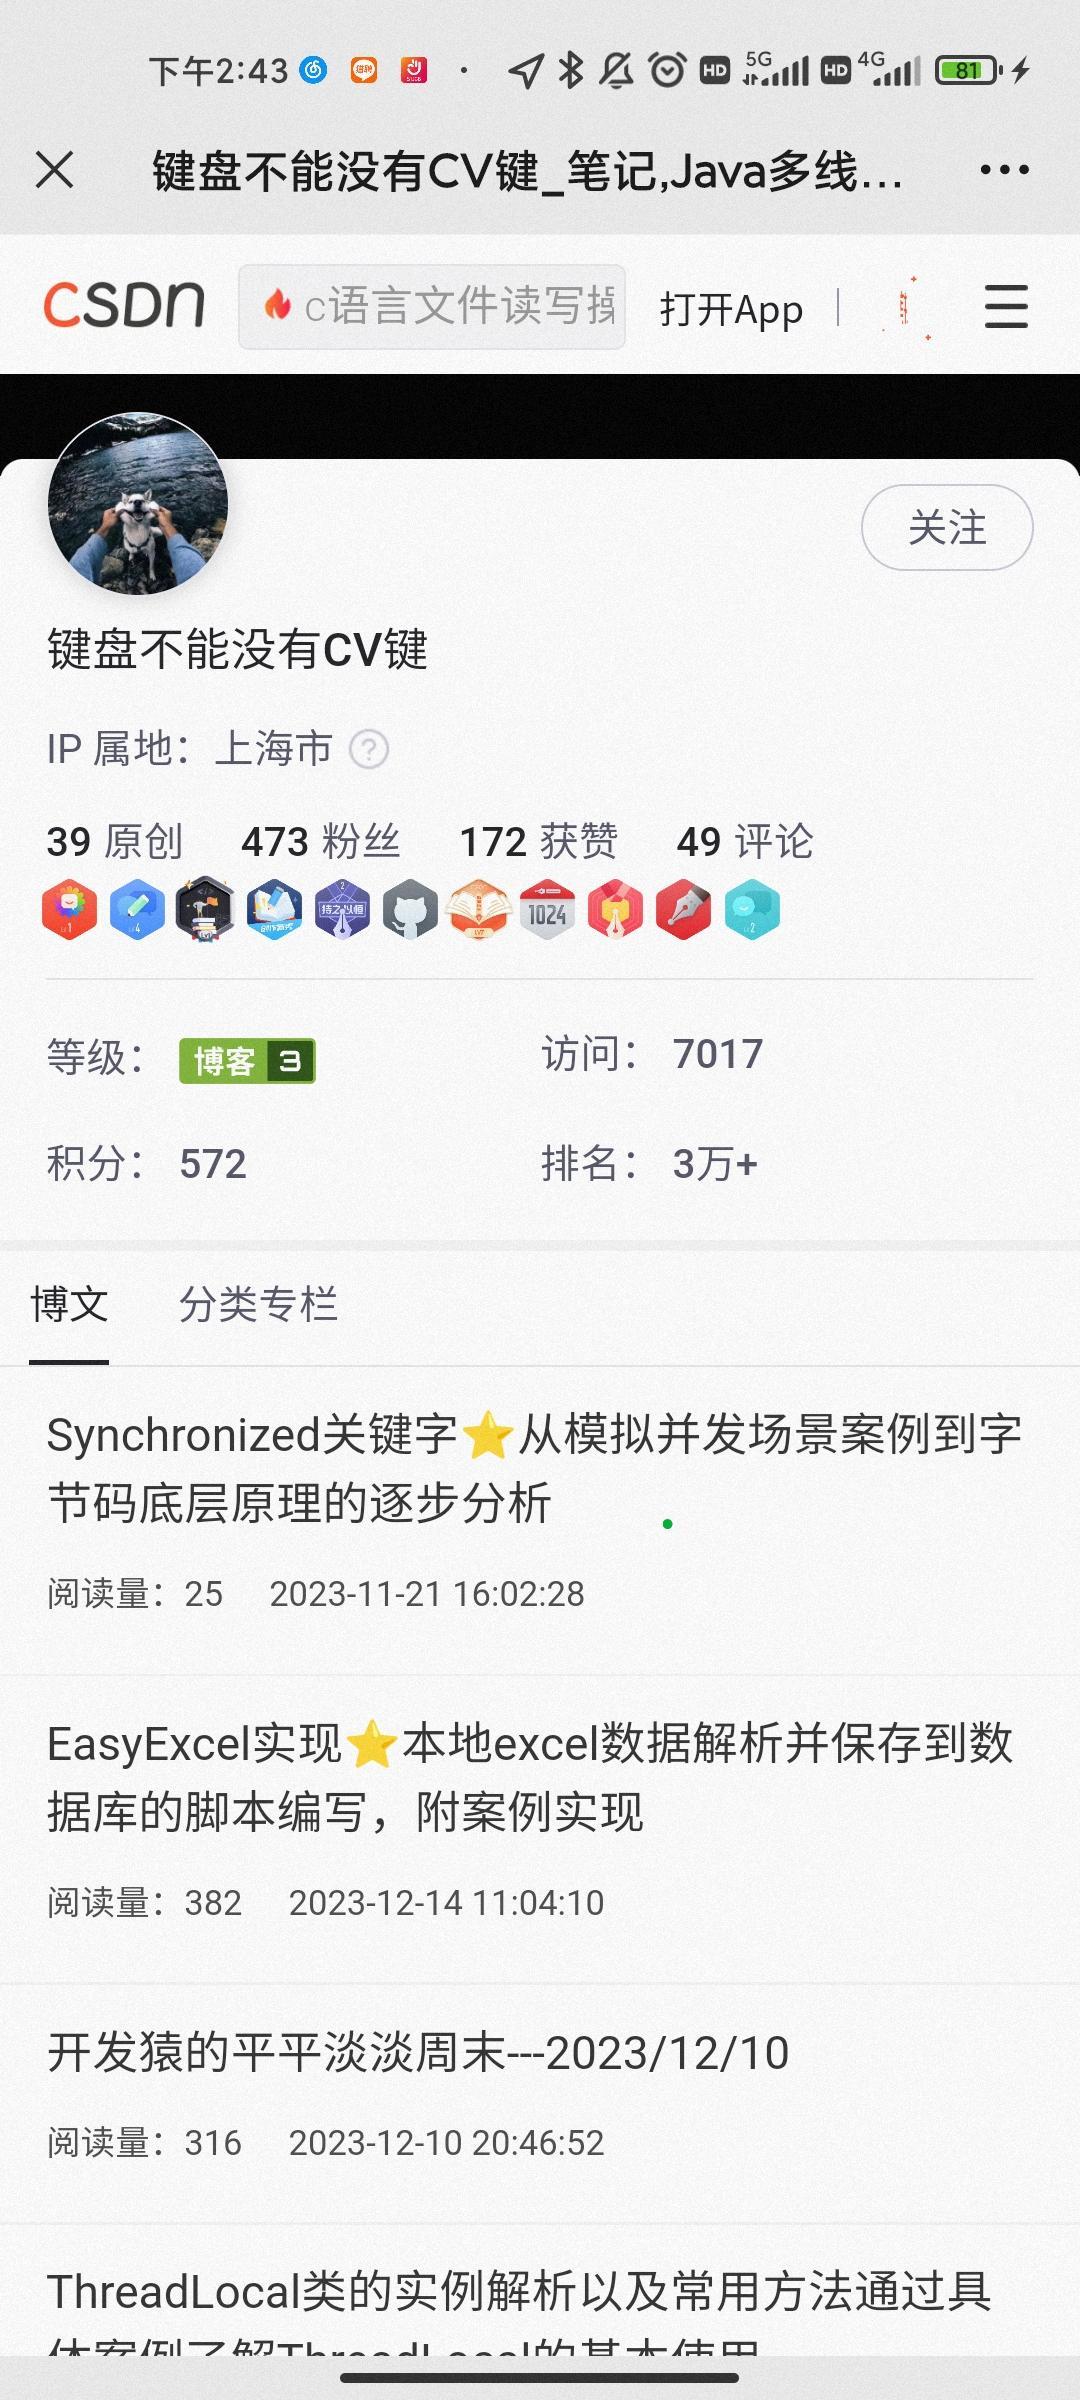
String dataNew = "https://blog.csdn.net/TM007_?spm=1000.2115.3001.5343";
int width = 300; // QR码的宽度
int height = 300; // QR码的高度
String filePath = "C:\\Users\\xxx\\Desktop\\testZxing\\002.png"; // 生成的QR码文件的路径
qrCodeGenerator.generateQRCode(dataNew, width, height, filePath);
}
}2.3 涉及到的具体方法原理不做介绍,看下main方法内,data为二维码包含的内容 ,filepath为图片的生成地址
三、运行一次
执行成功,去瞅瞅,可以看到大小格式是根据赋值的值来的(不贴了,过不了审)
用phone扫下试试,自动扫描出链接,并且前往页面,好了本文到这里就结束了


瓜分20万奖金 获得内推名额 丰厚实物奖励 易参与易上手
更多推荐

 10
10 0
0- 0


 已为社区贡献1条内容

所有评论(0)