Python多元非线性回归预测算法
这篇博客针对《Python多元非线性回归预测算法》编写代码,代码整洁,规则,易读。 学习与应用推荐首选。
程序示例精选
Python多元非线性回归预测算法
如需安装运行环境或远程调试,见文章底部个人QQ名片,由专业技术人员远程协助!
前言
这篇博客针对《Python多元非线性回归预测算法》编写代码,代码整洁,规则,易读。 学习与应用推荐首选。
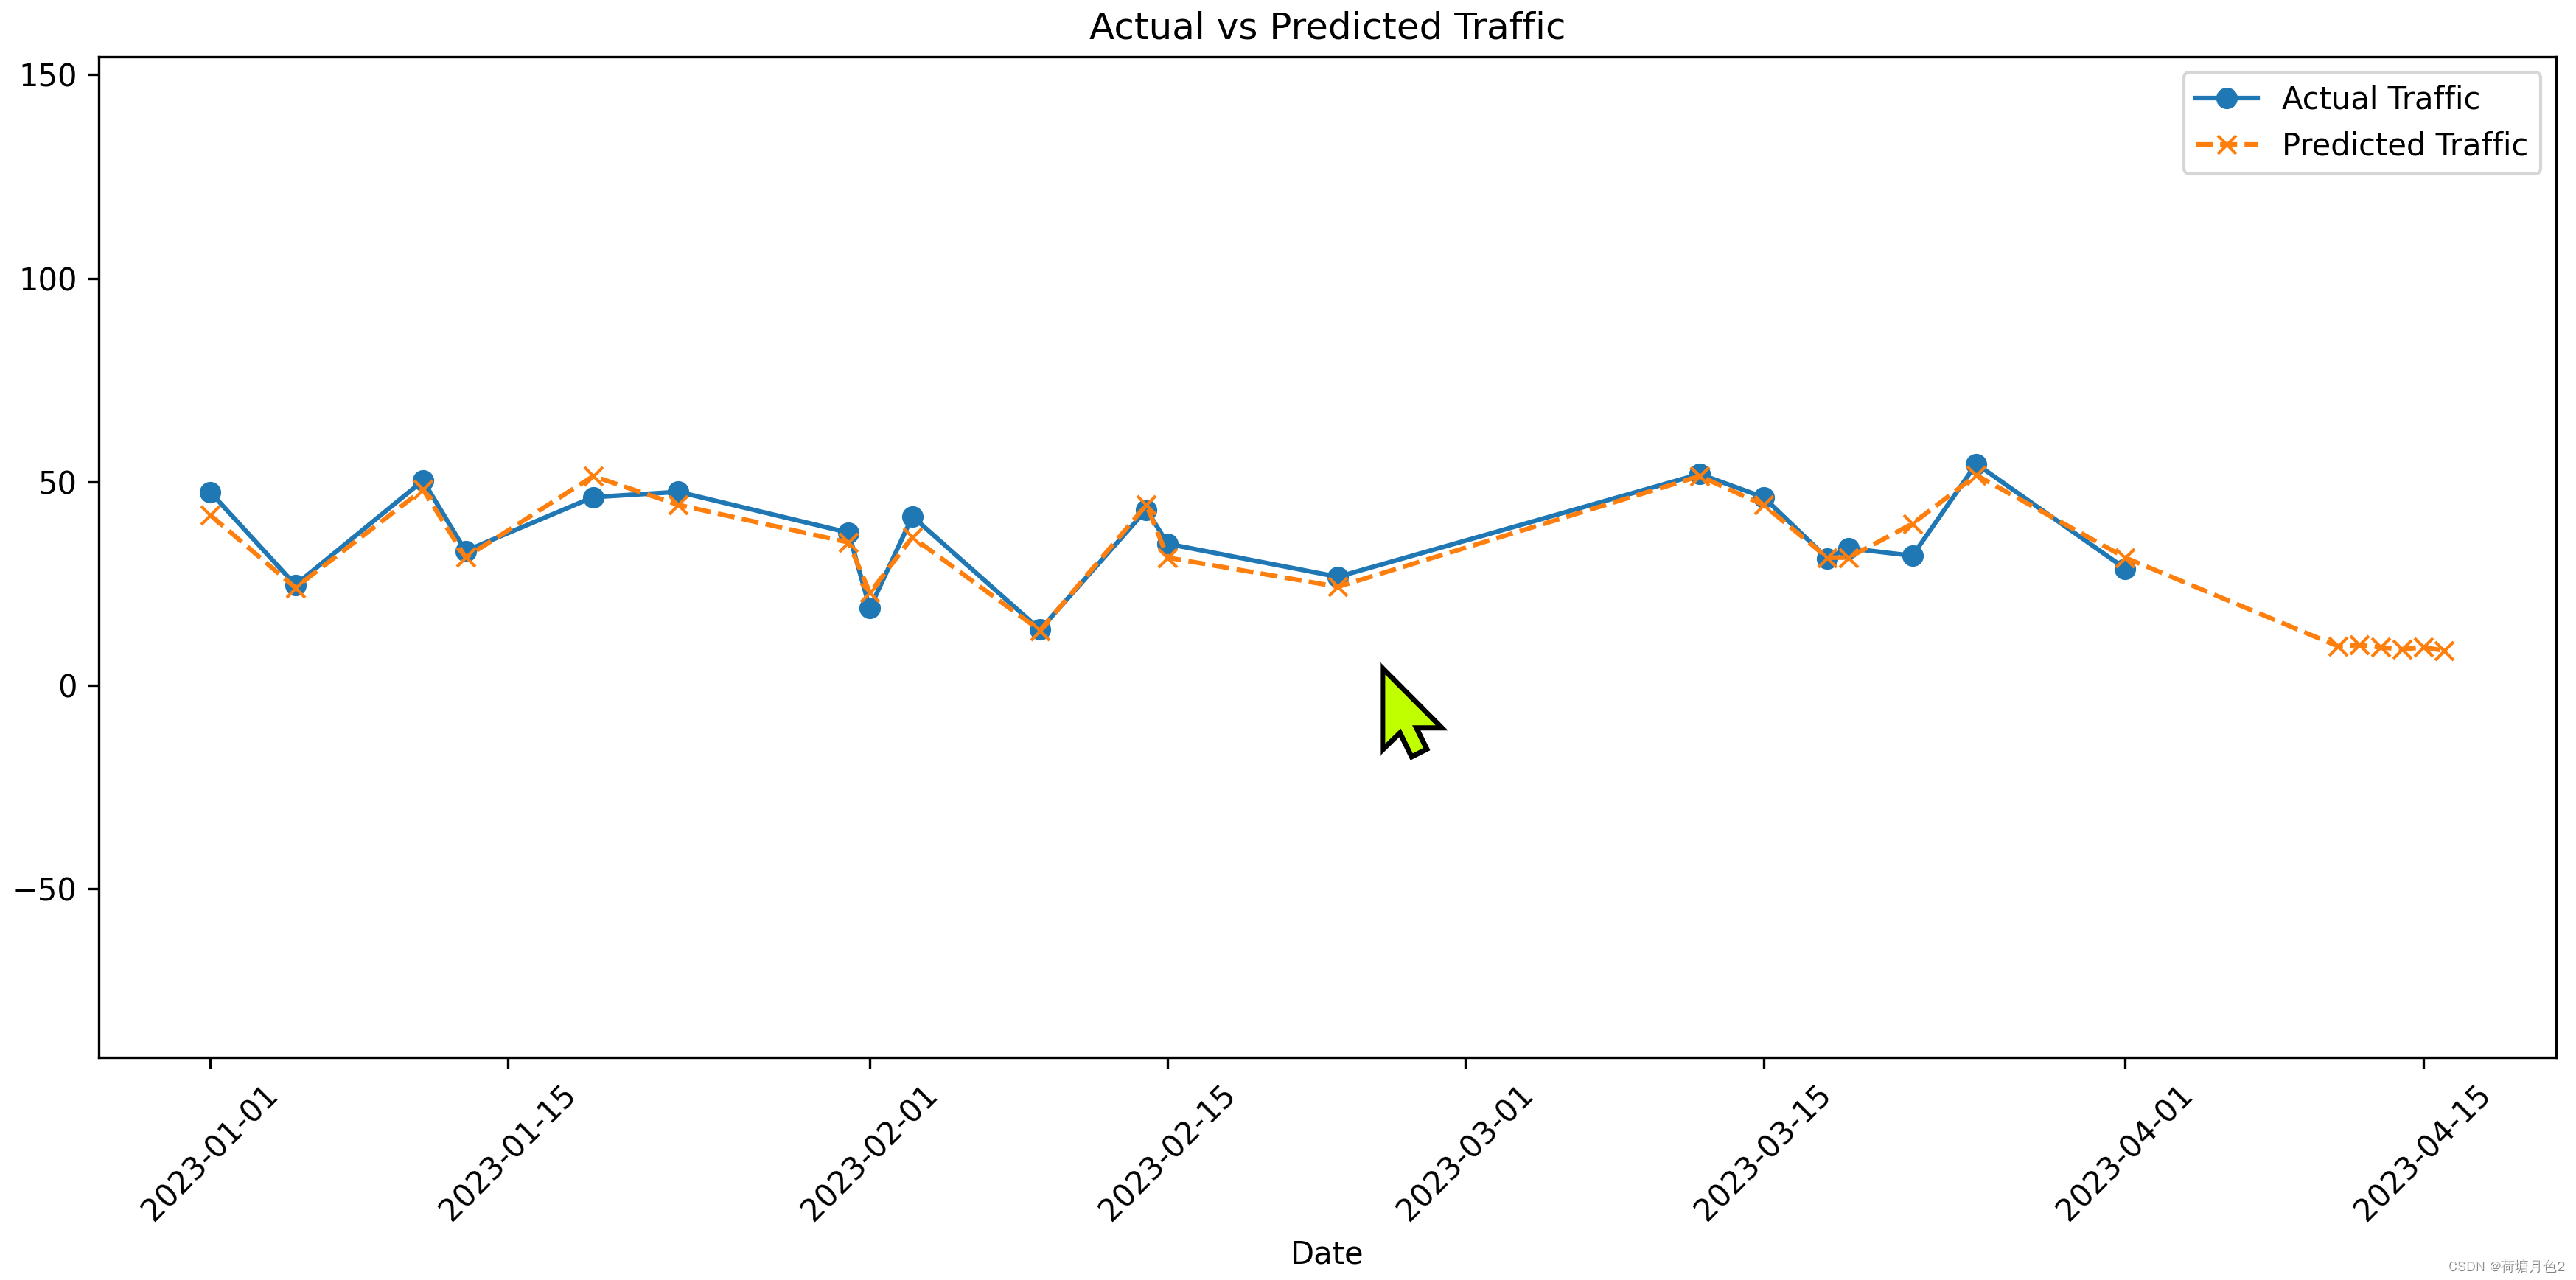
运行结果

文章目录
一、所需工具软件
二、使用步骤
1. 主要代码
2. 运行结果
三、在线协助
一、所需工具软件
1. Python
2. Pycharm
二、使用步骤
代码如下(示例):
import numpy as np
import pandas as pd
import matplotlib.pyplot as plt


def critic_weights(data):
    """
    计算CRITIC权重
    :param data: 数据集,其中行为样本,列为特征
    :return: 每个特征的权重
    """
    # 标准化数据
    data_std = (data - np.mean(data, axis=0)) / np.std(data, axis=0)

    # 计算标准差
    std_devs = np.std(data_std, axis=0)

    # 计算相关系数矩阵
    corr_matrix = np.corrcoef(data_std, rowvar=False)
    corr_matrix = np.nan_to_num(corr_matrix)  # 旧版本的兼容方式:直接替换NaN值而不使用关键字参数

    # 计算冲突矩阵(1-|相关系数|)
    conflict_matrix = 1 - np.abs(corr_matrix)

    # 计算每个特征的信息量
    criteria = std_devs * np.sum(conflict_matrix, axis=1)

    # 计算权重
    weights = criteria / np.sum(criteria)

    return weights


# 根据模拟数据计算交通量
traffic = 10 * weather + 5 * holiday + 8 * location + 15 * incident + np.random.rand(num_samples) * 10

# 创建DataFrame保存模拟数据
df = pd.DataFrame({
    'Date': dates,
    'Weather': weather,
    'Holiday': holiday,
    'Location': location,
    'Incident': incident,
    'Traffic': traffic
})

# 保存数据到Excel文件
excel_path = 'simulated_data_with_features.xlsx'
df.to_excel(excel_path, index=False)

print(f"模拟数据已保存到 {excel_path}")

# 读取Excel文件
df = pd.read_excel(excel_path)

# 提取特征和目标变量,不包括日期
X = df.drop(['Traffic', 'Date'], axis=1)
y = df['Traffic']

# 分割数据集,同时保留日期信息用于测试集
X_train, X_test, y_train, y_test, dates_train, dates_test = train_test_split(X, y, df['Date'], test_size=0.2, random_state=42)

# 计算特征权重
feature_weights = critic_weights(X_train.values)
print("特征权重:", feature_weights)

# 使用多项式特征转换输入数据
poly = PolynomialFeatures(degree=3)
X_train_poly = poly.fit_transform(X_train)
X_test_poly = poly.transform(X_test)

# 根据特征权重对训练和测试数据进行加权
X_train_weighted = X_train * feature_weights
X_test_weighted = X_test * feature_weights

# 训练多元非线性回归模型
model = LinearRegression()
model.fit(X_train_poly, y_train)

# 预测
y_pred = model.predict(X_test_poly)

# 评估模型
mse = mean_squared_error(y_test, y_pred)
print(f"Mean Squared Error: {mse}")

# 预测未来7天的客流量
future_dates = pd.date_range(start=dates.max(), periods=7)[1:]  # 排除当前日期
future_X_weighted = np.random.rand(6, 4) * feature_weights  #

# 创建DataFrame保存预测结果
future_df = pd.DataFrame({
    'Date': future_dates,
    'Predicted Traffic': predicted_flow_future
})

# 将未来预测的日期和预测值与测试集的日期和预测值连接起来
dates_combined = np.concatenate([dates_test, future_dates])
y_pred_combined = np.concatenate([y_pred, predicted_flow_future])

# 绘制实际与预测的客流量曲线图,x轴使用日期
plt.figure(figsize=(12, 6))

# 排序实际数据
test_df = pd.DataFrame({
    'Date': dates_combined,
    'Actual Traffic': np.concatenate([y_test, np.full(6, np.nan)]),  # 在预测的未来日期上填充NaN值
    'Predicted Traffic': y_pred_combined
})
test_df = test_df.sort_values(by='Date')

plt.plot(test_df['Date'], test_df['Actual Traffic'], label='Actual Traffic', marker='o', linestyle='-')
plt.plot(test_df['Date'], test_df['Predicted Traffic'], label='Predicted Traffic', marker='x', linestyle='--')

# 设置y轴的最大最小值
y_min = min(y_test.min(), y_pred.min(), predicted_flow_future.min()) - 100
y_max = max(y_test.max(), y_pred.max(), predicted_flow_future.max()) + 100
plt.ylim(y_min, y_max)

plt.title('Actual vs Predicted Traffic')
plt.xlabel('Date')
plt.ylabel('Traffic')
plt.xticks(rotation=45)
plt.legend()
plt.tight_layout()
plt.show()
运行结果

三、在线协助:
如需安装运行环境或远程调试,见文章底部个人 QQ 名片,由专业技术人员远程协助!
1)远程安装运行环境,代码调试
2)Visual Studio, Qt, C++, Python编程语言入门指导
3)界面美化
4)软件制作
5)云服务器申请
6)网站制作
当前文章连接:https://blog.csdn.net/alicema1111/article/details/132666851
个人博客主页:https://blog.csdn.net/alicema1111?type=blog
博主所有文章点这里:https://blog.csdn.net/alicema1111?type=blog
博主推荐:
Python人脸识别考勤打卡系统:
https://blog.csdn.net/alicema1111/article/details/133434445
Python果树水果识别:https://blog.csdn.net/alicema1111/article/details/130862842
Python+Yolov8+Deepsort入口人流量统计:https://blog.csdn.net/alicema1111/article/details/130454430
Python+Qt人脸识别门禁管理系统:https://blog.csdn.net/alicema1111/article/details/130353433
Python+Qt指纹录入识别考勤系统:https://blog.csdn.net/alicema1111/article/details/129338432
Python Yolov5火焰烟雾识别源码分享:https://blog.csdn.net/alicema1111/article/details/128420453
Python+Yolov8路面桥梁墙体裂缝识别:https://blog.csdn.net/alicema1111/article/details/133434445
Python+Yolov5道路障碍物识别:https://blog.csdn.net/alicema1111/article/details/129589741
Python+Yolov5跌倒检测 摔倒检测 人物目标行为 人体特征识别:https://blog.csdn.net/alicema1111/article/details/129272048

开放原子开发者工作坊旨在鼓励更多人参与开源活动,与志同道合的开发者们相互交流开发经验、分享开发心得、获取前沿技术趋势。工作坊有多种形式的开发者活动,如meetup、训练营等,主打技术交流,干货满满,真诚地邀请各位开发者共同参与!
更多推荐
 已为社区贡献4条内容


所有评论(0)