

持续集成交付CICD:Linux 部署 Jira 9.12.1
(8)点击生成,生成后跳转页面复制许可证(这里需要注册账号登录,生成授权码,激活实例)(1)创建项目 (一个Jira 项目对应一个GitLab项目组)(6)查看项目模块 (一个Jira模块对应一个GitLab项目)(3)这里选择“内置”,生成环境选择“其他数据库”,点击下一步。(3)选择底部的“查看我们的下载存档”,进行历史版本下载。(2)选择“我将设置它自己”,点击下一步。(10)管理员入口 (
目录
一、实验
1.环境
(1)主机
表1 主机
| 主机 | 架构 | 版本 | IP | 备注 |
| master1 | K8S master节点 | 1.20.6 | 192.168.204.180 | jenkins slave (从节点) |
| jira | 9.12.1 | 192.168.204.180:8801 | ||
| node1 | K8S node节点 | 1.20.6 | 192.168.204.181 | |
| node2 | K8S node节点 | 1.20.6 | 192.168.204.182 | |
| jenkins | jenkins主节点 | 2.414.2 | 192.168.204.15:8080 | gitlab runner (从节点) |
| gitlab | gitlab 主节点 | 12.10.14 | 192.168.204.8:82 | jenkins slave (从节点) |
| sonarqube | 9.6 | 192.168.204.8:9000 |
2.K8S master节点部署Jira
(1)查看K8S集群状态
# kubectl get node
(2)查看Jira数据中心版本,点击免费试用
Jira 定价 - 每位用户的月度和年度订阅费用 | Atlassian

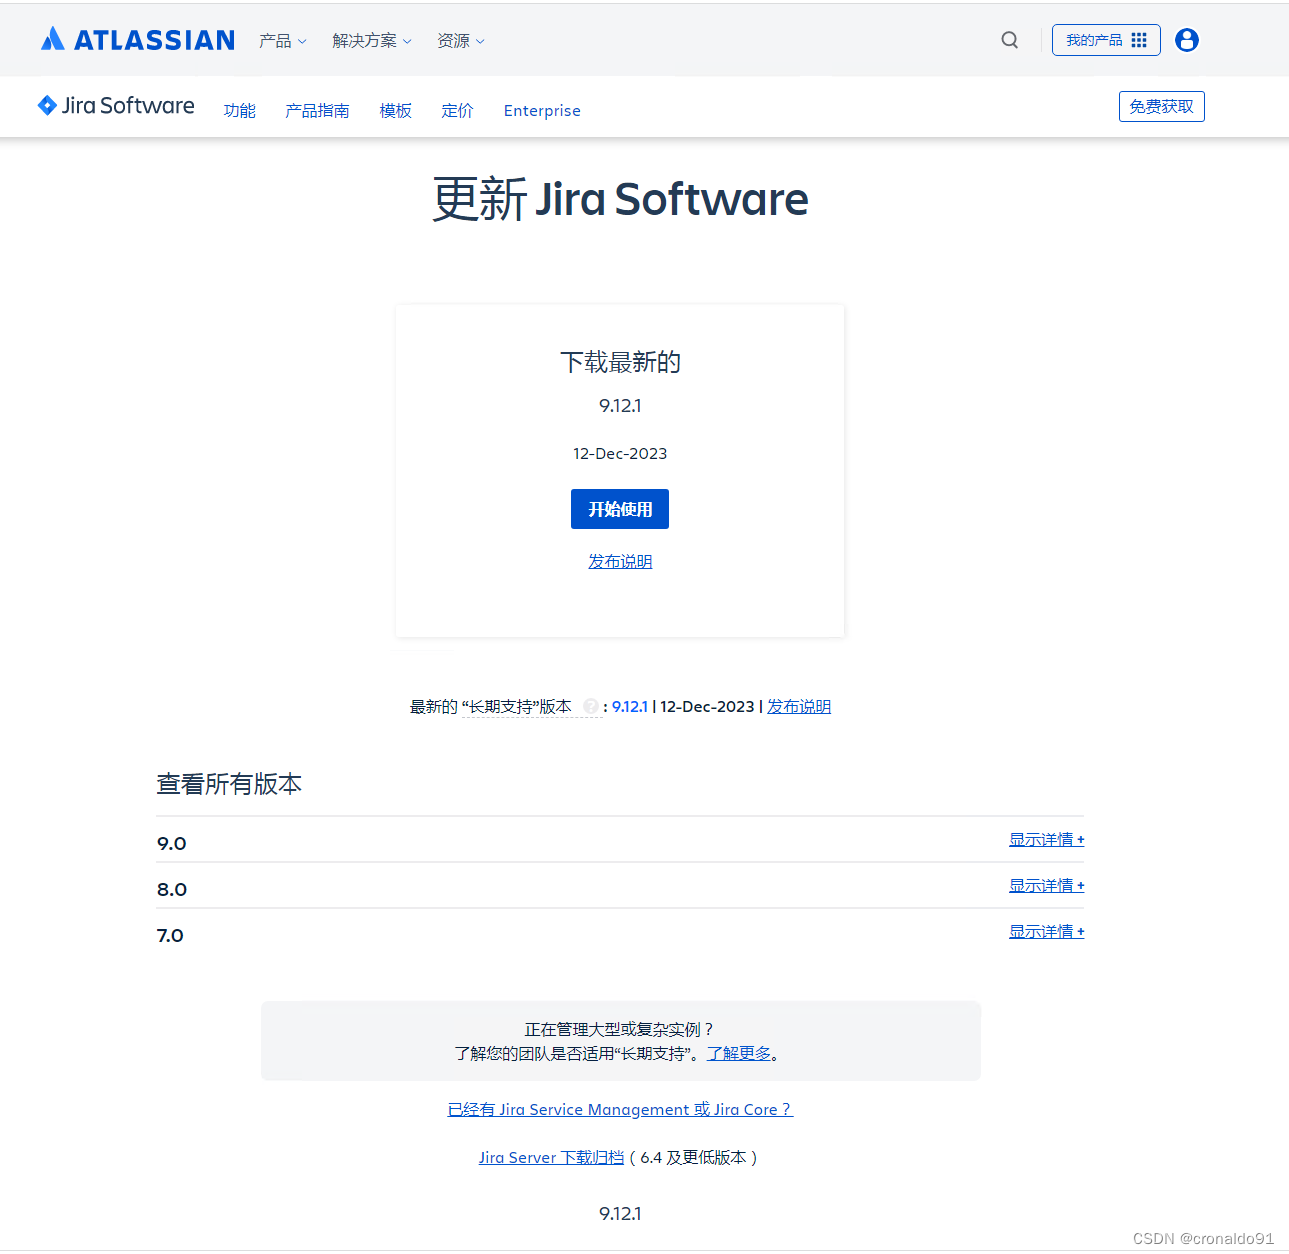
(3)选择底部的“查看我们的下载存档”,进行历史版本下载

(4)点击“9.12.1”,下载最新的LTS 长期支持版本
(5)选择部署的环境为Linux
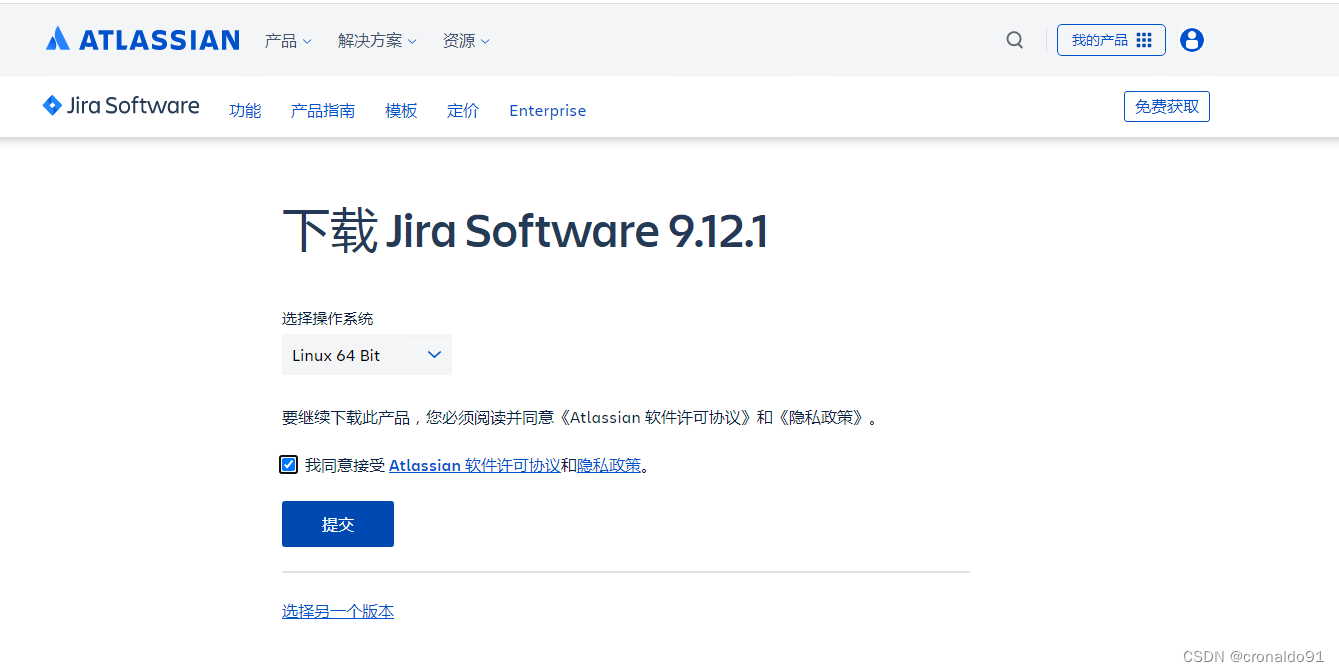
(6)开始下载Jira Software Server安装程序

(7)观察内存变化
# free -m
(8)安装部署
1)上传文件
scp atlassian-jira-software-9.12.1-x64.bin root@192.168.204.180:/opt/
2)添加权限
[root@master1 opt]# chmod +x atlassian-jira-software-9.12.1-x64.bin
3)运行安装程序
[root@master1 opt]# ./atlassian-jira-software-9.12.1-x64.bin
Unpacking JRE ...
Starting Installer ...
4)回车
This will install Jira Software 9.12.1 on your computer.
OK [o, Enter], Cancel [c]
Click Next to continue, or Cancel to exit Setup.
5)选择自定义安装, 输入回车
Choose the appropriate installation or upgrade option.
Please choose one of the following:
Express Install (use default settings) [1], Custom Install (recommended for advanced users) [2, Enter], Upgrade an existing Jira installation [3]
6)选择数据目录
Select the folder where you would like Jira Software to be installed.
Where should Jira Software be installed?
[/opt/atlassian/jira]
Default location for Jira Software data
[/var/atlassian/application-data/jira]
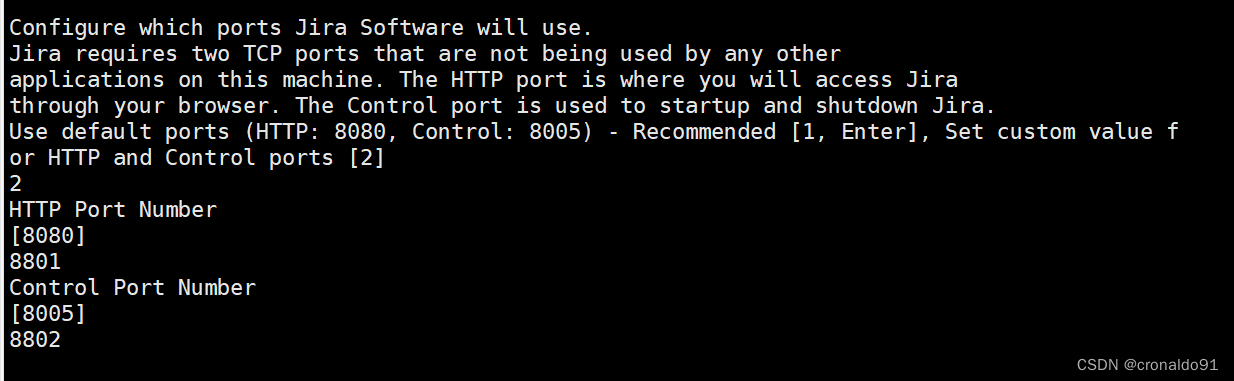
7)输入2 ,自定义服务端口
Configure which ports Jira Software will use.
Jira requires two TCP ports that are not being used by any other
applications on this machine. The HTTP port is where you will access Jira
through your browser. The Control port is used to startup and shutdown Jira.
Use default ports (HTTP: 8080, Control: 8005) - Recommended [1, Enter], Set custom value for HTTP and Control ports [2]
2
HTTP Port Number
[8080]
8801
Control Port Number
[8005]
8802
8) 安装服务,输入y
Jira can be run in the background.
You may choose to run Jira as a service, which means it will start
automatically whenever the computer restarts.
Install Jira as Service?
Yes [y, Enter], No [n]
9) 确认安装,输入y
Details on where Jira Software will be installed and the settings that will be used.
Installation Directory: /opt/atlassian/jira
Home Directory: /var/atlassian/application-data/jira
HTTP Port: 8801
RMI Port: 8802
Install as service: Yes
Install [i, Enter], Exit [e]
Extracting files ...
/opt/atlassian/jira/bin/tcnative-1.dll
The file already exists.
10)覆盖文件,输入y
Would you like Setup to overwrite it?
Yes [y], Yes to All [ya], No [n], No to All [na]
y
Please wait a few moments while Jira Software is configured.
11)开始启动,输入y
Start Jira Software 9.12.1 now?
Yes [y, Enter], No [n]
Please wait a few moments while Jira Software starts up.
Launching Jira Software ...
12)完成安装,访问系统地址
Your installation of Jira Software 9.12.1 is now ready and can be accessed
via your browser.
Jira Software 9.12.1 can be accessed at http://localhost:8801
Finishing installation ...
① 上传文件

②添加权限
![]()
③运行安装程序

④ 回车

⑤选择自定义安装, 输入回车

⑥选择安装目录

⑦选择数据目录

⑧输入2 ,自定义服务端口 8801和8802 (因为8080为业务常用端口,容易占用造成端口冲突)
⑨确认安装,输入y

⑩覆盖文件,输入y

⑪开始启动,输入y
⑫完成安装,系统地址为 :http://serverip:8801

3.Jira 初始化设置
(1)登录系统

(2)选择“我将设置它自己”,点击下一步

(3)这里选择“内置”,生成环境选择“其他数据库”,点击下一步
生产环境可选择连接多种数据库

(5)等待安装内置数据库

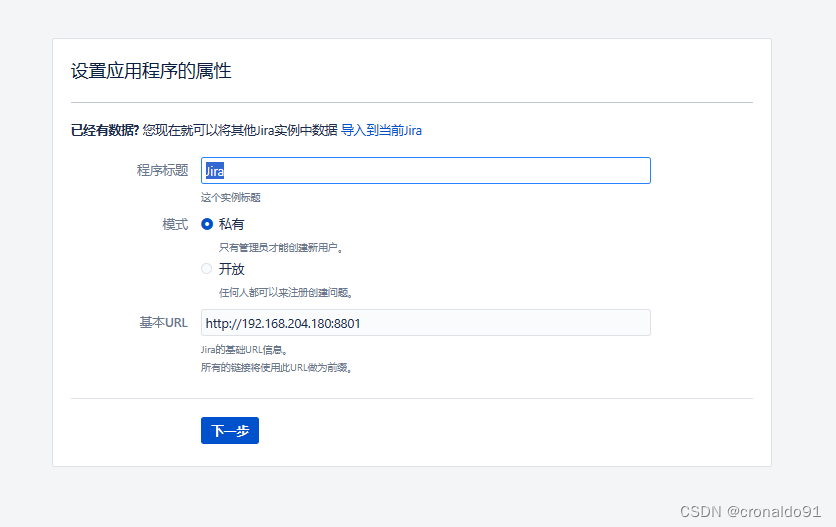
(6) 设置应用程序的属性
(7)生产Jira使用许可证,获取授权码

(8)点击生成,生成后跳转页面复制许可证(这里需要注册账号登录,生成授权码,激活实例)

(9)设置管理员账户

(10)设置电子邮件通知,点击完成

(11)等待

(12)设置语言

(13)选择头像

(14)完成初始化设置

(15)观察内存变化

4.Jira 使用
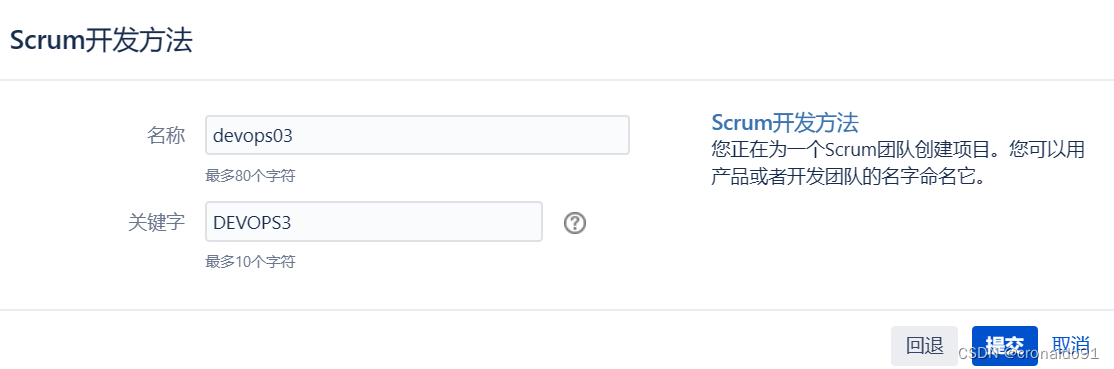
(1)创建项目 (一个Jira 项目对应一个GitLab项目组)

(2)选择 Scrum开发方法

(3)选择

(4)提交
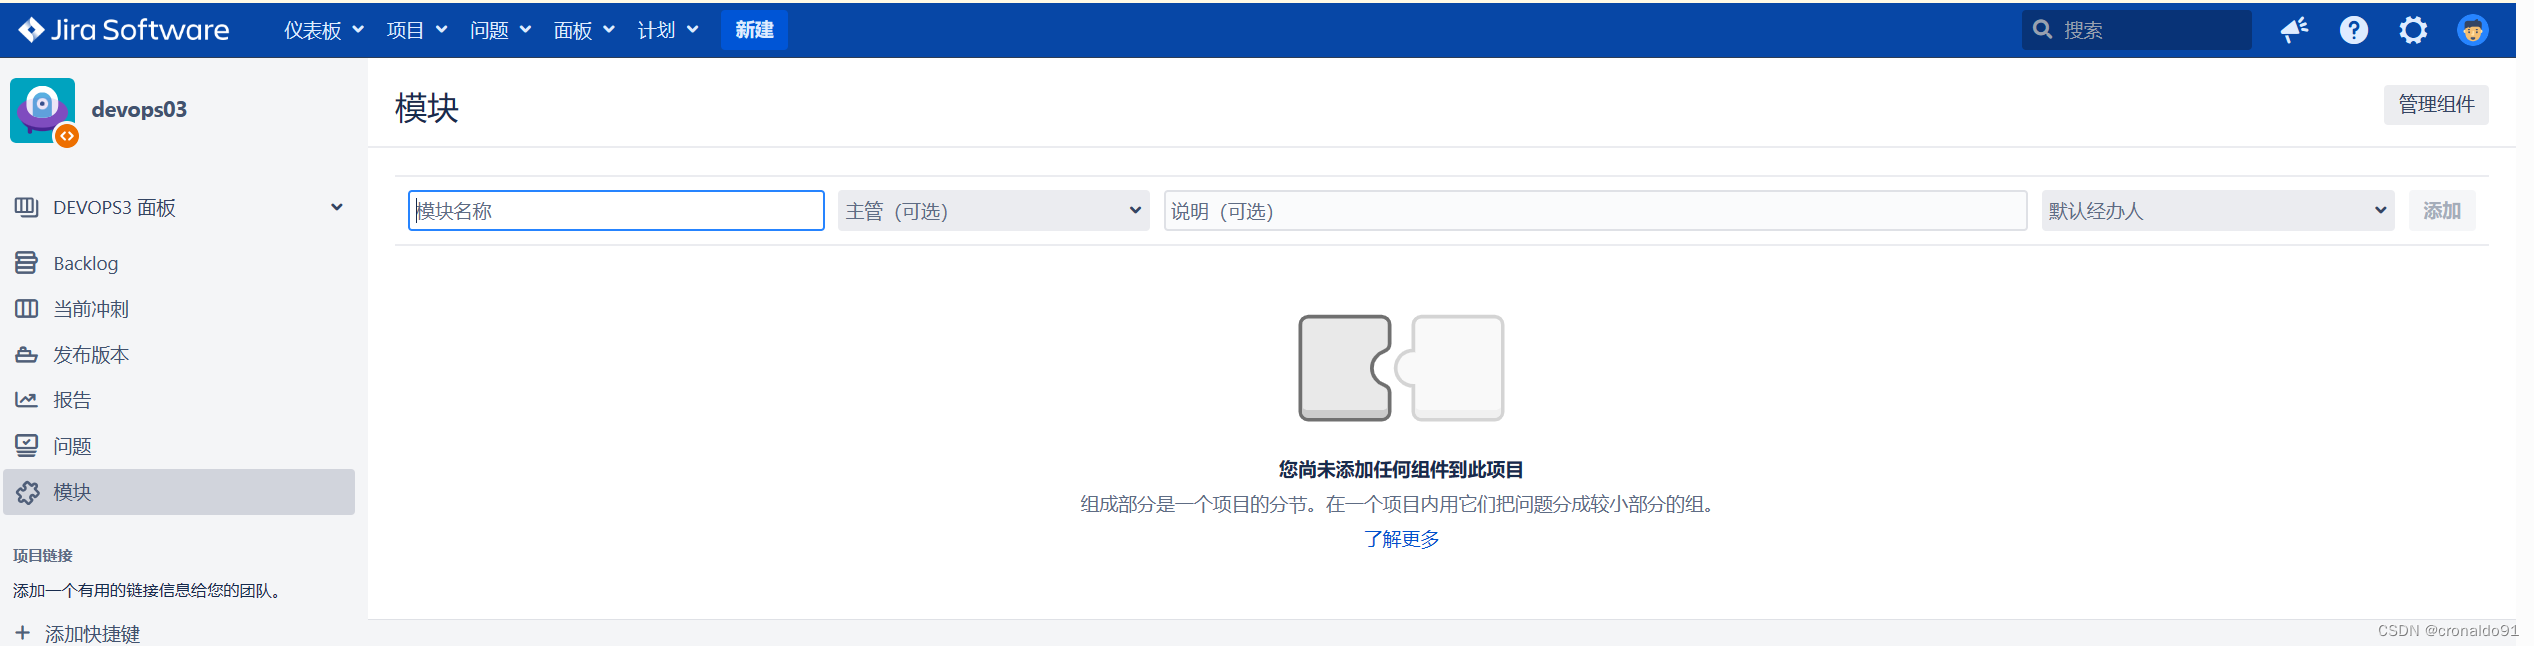
(5)进入项目面板

(6)查看项目模块 (一个Jira模块对应一个GitLab项目)
(7)GitLab查看前端项目信息

(8)Jira添加模块(前端项目)


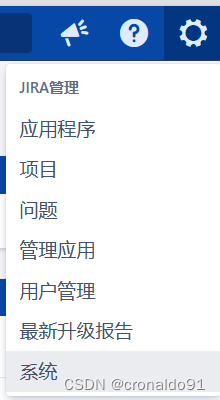
(9)点击系统
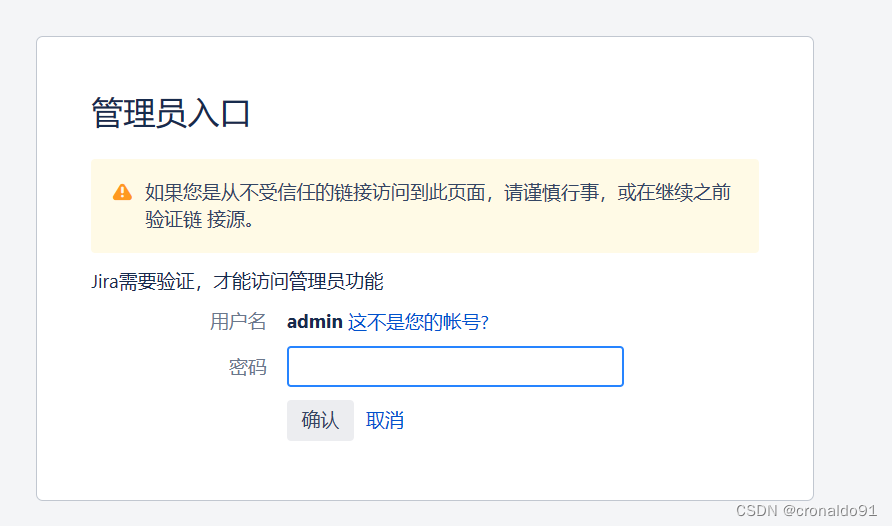
(10)管理员入口 (需要输入密码)
(11)目前网络钩子是空的

(12)查看发布版本

(13)添加查看效果

(14)新建一个问题

(15)可以指定模块(前端项目)

(16)创建完成

(17)这里可以选择分配

(18)观察内存变化


瓜分20万奖金 获得内推名额 丰厚实物奖励 易参与易上手
更多推荐


 15
15 0
0- 0


 已为社区贡献4条内容

所有评论(0)