ubuntu下安装openCV
参考: http://blog.csdn.net/hjl240/article/details/51520003 1.去openCV 官网下载最新的源代码。 2. 解压unzip opencv-3.2.0.zip3.安装(进入到解压的路径,编译)cdopencv-3.2.0# 你的路径mkdir releasecd relea
·
参考: http://blog.csdn.net/hjl240/article/details/51520003
1.去openCV 官网下载最新的源代码。

2. 解压
unzip opencv-3.2.0.zip3.安装(进入到解压的路径,编译)
cd  opencv-3.2.0  # 你的路径
mkdir release
cd release
cmake -D CMAKE_BUILD_TYPE=RELEASE -D CMAKE_INSTALL_PREFIX=/usr/local ..
make
sudo make install
注:我在这步出现了些问题,由于缺少部分依赖,在执行下面的c代码的时候会报错。所以在编译之前,先要检查两个依赖是否安装:
libgtk2.0-dev 和 pkg-config
sudo apt-get install *** 就可以安装了。安装完成之后在执行第三步编译等。
报错信息如下:
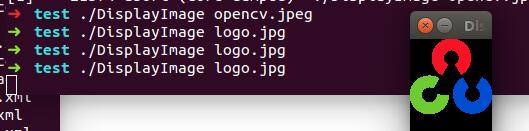
➜  test ./DisplayImage opencv.jpeg
OpenCV Error: Unspecified error (The function is not implemented. Rebuild the library with Windows, GTK+ 2.x or Carbon support. If you are on Ubuntu or Debian, install libgtk2.0-dev and pkg-config, then re-run cmake or configure script) in cvNamedWindow, file /home/menglei/opencv/opencv-3.2.0/modules/highgui/src/window.cpp, line 565
terminate called after throwing an instance of 'cv::Exception'
  what():  /home/menglei/opencv/opencv-3.2.0/modules/highgui/src/window.cpp:565: error: (-2) The function is not implemented. Rebuild the library with Windows, GTK+ 2.x or Carbon support. If you are on Ubuntu or Debian, install libgtk2.0-dev and pkg-config, then re-run cmake or configure script in function cvNamedWindow
4.c++代码测试。
mkdir ~/opencv-test
cd ~/opencv-test
vi DisplayImage.cpp  #编辑下这个文件。填写下面的内容
#include <stdio.h>
#include <opencv2/opencv.hpp>
using namespace cv;
int main(int argc, char** argv )
{
if ( argc != 2 )
{
printf("usage: DisplayImage.out <Image_Path>\n");
return -1;
}
Mat image;
image = imread( argv[1], 1 );
if ( !image.data )
{
printf("No image data \n");
return -1;
}
namedWindow("Display Image", WINDOW_AUTOSIZE );
imshow("Display Image", image);
waitKey(0);
return 0;
} 5.写一个cmake编译上面的代码
touch CMakeLists.txt
vi CMakeLists.txt
cmake_minimum_required(VERSION 2.8)
project( DisplayImage )
find_package( OpenCV REQUIRED )
add_executable( DisplayImage DisplayImage.cpp )
target_link_libraries( DisplayImage ${OpenCV_LIBS} ) 编译
cd opencv-test
cmake .
make
运行
此时opencv-test文件夹中已经产生了可执行文件DisplayImage,随便从网上下载一张图片放在opencv-test文件夹下,此处下载了opencv.jpg,然后运行
6. 安装python-opencv 等
sudo apt-get install python-opencv
sudo apt-get install python-numpy
7. 检测
python
import cv
如果成功表示安装完成
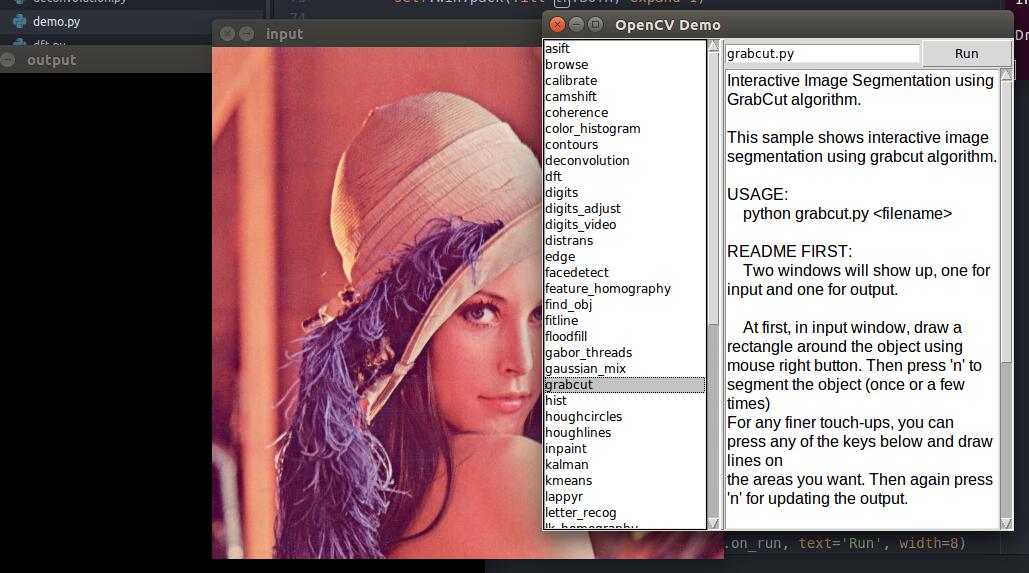
查看demo
cd opencv-3.2.0/samples/python
python demo.py
如果运行不起来,可能是缺乏什么python库,安装一下就好了。 比如sudo apt-get install python-tk

开放原子开发者工作坊旨在鼓励更多人参与开源活动,与志同道合的开发者们相互交流开发经验、分享开发心得、获取前沿技术趋势。工作坊有多种形式的开发者活动,如meetup、训练营等,主打技术交流,干货满满,真诚地邀请各位开发者共同参与!
更多推荐

 0
0 0
0- 0


 已为社区贡献3条内容

所有评论(0)